Technique
Brew ratio, dose and yield: the three numbers that fix your coffee
Dose in, liquid out, time taken. How to write down a repeatable espresso recipe in grams and seconds, and what to change when the cup is sour or bitter.
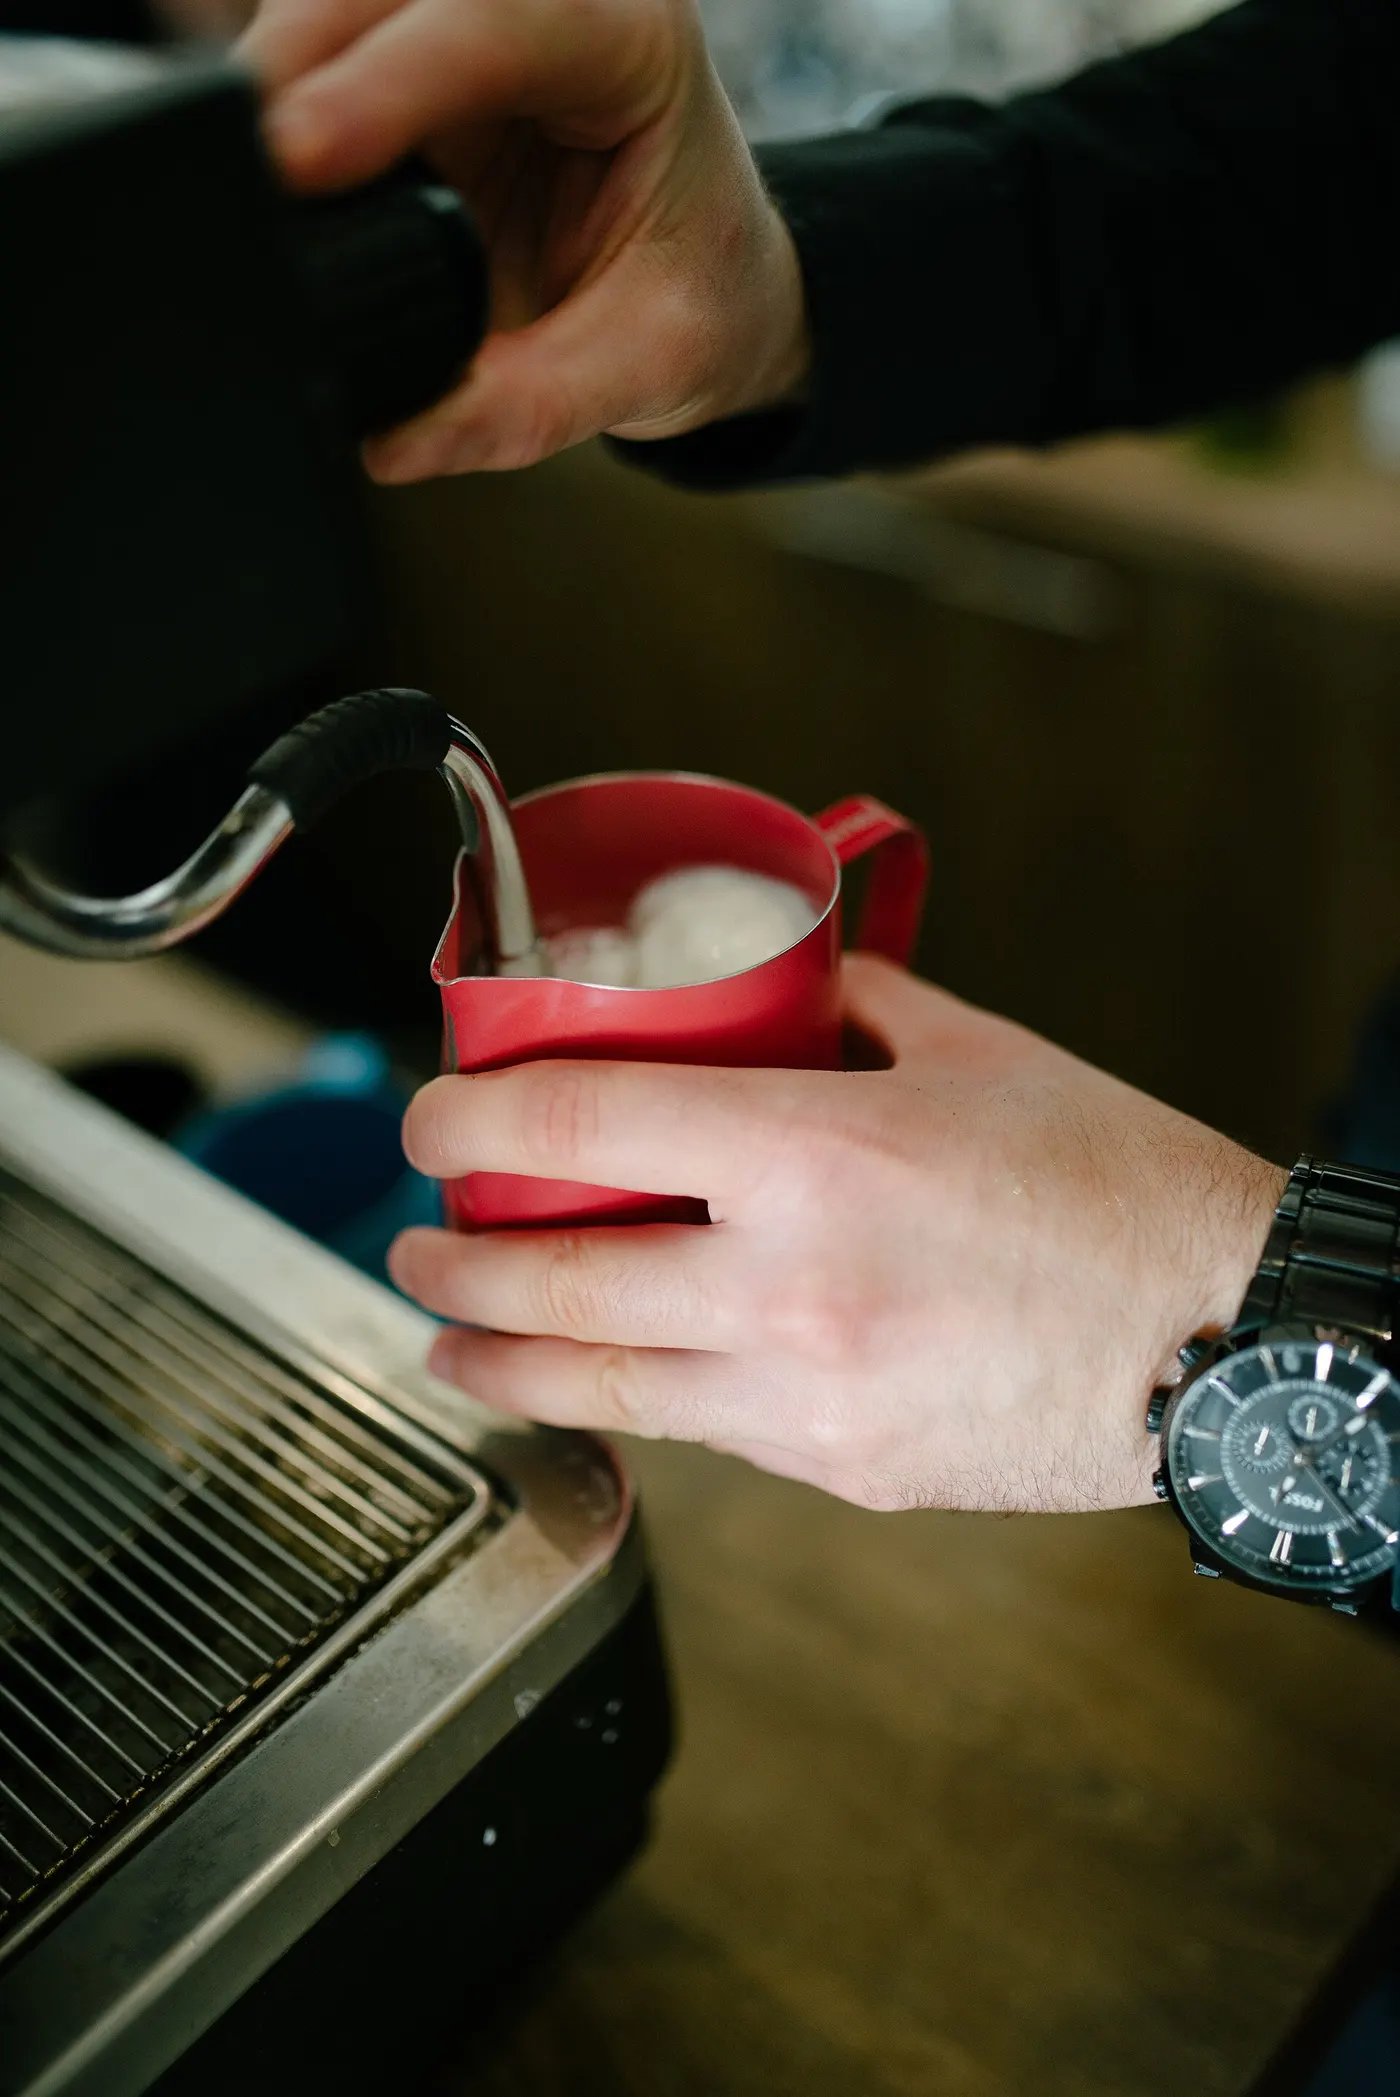
Most home espresso problems are not equipment problems. They are the result of not writing three numbers down: how much dry coffee went in, how much liquid came out, and how long it took.
Once those are on paper, every adjustment has a direction. Without them, each shot is a new experiment and nothing accumulates. This guide is about the arithmetic and the order of changes, and it applies to any machine.
Write the recipe as a ratio in grams
Weigh the dry coffee and weigh the liquid in the cup. An 18 g dose that produces 36 g of liquid is a 1:2 ratio. A 20 g dose producing 50 g is 1:2.5. Nothing about this depends on the machine, which is why it transfers when you change equipment.
Volume is a poor substitute for weight here, because crema is mostly gas: two shots that look identical in the cup can differ by 8 g of liquid. A scale with 0.1 g resolution removes the whole category of confusion.
Water in a litre of beverage is the same arithmetic one step out. A brew ratio of 60 g of coffee per litre means 15 g of coffee for a 250 ml cup. That is an assumption you choose, not a rule we are asserting; the Specialty Coffee Association publishes brewing standards, and the numeric tables live in the standards documents rather than on the public index.
| Style | Dose | Yield | Ratio |
|---|---|---|---|
| Short and dense | 18 g | 27 g | 1:1.5 |
| Standard double | 18 g | 36 g | 1:2 |
| Longer, lighter body | 18 g | 45 g | 1:2.5 |
| Large basket double | 21 g | 42 g | 1:2 |
The ratio is the recipe. Time is the result of the grind at that ratio, which is why you change grind, not ratio, when the clock is wrong.
Change one variable, in this order
Fix the dose first and leave it alone: the basket is designed for a range, and changing dose changes the headroom above the puck at the same time as everything else.
Fix the yield next, because that is the drink you want. Then use the grind to move the time. Finer grind slows the shot, coarser speeds it up. A quarter turn on most grinders moves a shot by several seconds.
Only change the ratio once the time sits where you want it and the cup is still wrong in the same direction. Changing two things at once is why a session of ten shots can end with no more information than it started with.
- Set the dose, for example 18 g, and keep it for the whole session
- Set the target yield, for example 36 g in the cup
- Pull a shot and record the time in seconds
- Too fast: grind finer. Too slow: grind coarser. Change nothing else
- Repeat until the time lands in the window you chose, usually 25 to 30 seconds
- Taste, and only then consider moving the ratio
Sour, bitter and what each one means
A shot that runs fast and tastes sharp and thin has usually under-extracted: water passed through too quickly to dissolve enough. The first move is a finer grind, not more coffee.
A shot that drips, tastes harsh and dries the mouth has usually over-extracted, or channelled through a crack in the puck. Coarser grind first; if the time is already short and it still tastes harsh, look at distribution and tamping rather than the grinder.
Temperature matters less than either of those at home, and it is the hardest to change on a single-boiler machine. Work through grind and distribution before concluding the machine is the limit.
| Symptom | Most likely cause | First change |
|---|---|---|
| Shot finishes in 15 seconds, tastes sharp | Grind too coarse | Grind finer, keep dose and yield |
| Shot takes 45 seconds, tastes harsh | Grind too fine | Grind coarser, keep dose and yield |
| Time is right, tastes thin | Ratio too long | Reduce yield from 36 g to 30 g |
| Time is right, tastes heavy | Ratio too short | Increase yield from 36 g to 42 g |
| Uneven stream, mottled puck | Channelling | Level and distribute before tamping |
Keep a log, because beans move
A bag that worked at a given grind setting 4 days after roasting will often need a finer setting 14 days later as it degasses. Writing down dose, yield, time and grind setting for each bag turns that from a mystery into a two-line note.
Four columns in a notebook are enough: date, bean, grind setting, and dose to yield in seconds. After 3 bags, roughly 6 weeks of drinking at 2 cups a day, you will recognise the pattern for your own grinder, which no guide can give you.
This is also the cheapest way to cut waste. Two dial-in shots per bag is about 36 g out of a 340 g bag, roughly 11% of an $18 bag; a log usually halves that.
Before you buy
- Put a 0.1 g scale under the cup and weigh the liquid, not the volume
- Write down dose, yield, time and grind setting for every session
- Change only one of grind, dose or yield at a time
- Hold the dose fixed for a whole bag before judging the basket
- Note the roast date and expect to grind finer as the bag ages
- Keep the dial-in to two shots per bag and record what you learned
Questions readers ask
- Do I need a scale, or can I use the cup markings?
- You need a scale for the liquid, because crema volume varies between shots of identical weight. A 0.1 g scale under the cup is the single change that makes recipes repeatable, and it costs under $25.
- Is 25 to 30 seconds a rule?
- No, it is a common window, and the useful part is that you pick one and hold it while you change the grind. The shot time is a diagnostic reading, not the goal: it tells you whether the grind matches the dose and yield you chose.
- Why did my recipe stop working with the same bag?
- Coffee degasses for days after roasting, and the grind that gave 36 g in 28 seconds after 4 days can give 36 g in 22 seconds after 12 days. Record the grind setting against the roast date and adjust finer as the bag ages.
Sources
- Specialty Coffee Association — published brewing and equipment standards index — checked 2026-11-03
- NIST — Office of Weights and Measures, measurement and weighing guidance — checked 2026-11-03
Some links on this site can earn us a commission. That does not change which product a guide recommends, and it adds nothing to your price. Advertising is not enabled on this site yet. When it is, ads will be labelled and kept visually separate from the guides.